What equipment do you need?
Any modern digital camera manufactured in the last several years is capable of taking excellent photos of wildlife and you do not need to buy the most expensive camera in order to take good pictures of your African safari holiday. Getting good pictures is far more about thinking carefully about composition and using some of the techniques outlined below, than spending a small fortune on the latest top of the range camera.
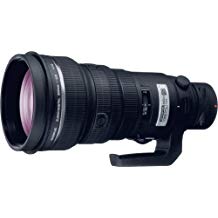
In general terms, a dSLR (digital Single Lens Reflex) camera with interchangeable lenses is the best option for a safari trip. The best lenses for wildlife photography are in the range of 200-400mm, while those wishing to take close ups (eg of insects), landscapes or shots of animals in their environment should if possible also bring wide angle lenses in the range of 24-100mm. We do not advise you to bring cumbersome flash units or tripods but we do advise that at least one member of your group has a video camera available, although many dSLRs now have these built in. Bring plenty of batteries and a charger so you don’t run out of power! Cameras get dirty easily on dusty safari drives, so bring plenty of cleaning equipment like cleaning cloths and a blower brush. Finally bring plenty of memory cards – you will be surprised how many shots you may end up taking.
Each person should ideally have their own pair of binoculars as they are essential to see the birds and animals in the distance. The best size is 8/10 x 40 and, again, they don’t need to be the most expensive top of the range binoculars.
Equipment List for Safari Holidays
- Camera
- Telephoto lenses (ideally covering 24-100mm and 200-400mm range)
- Lens cleaning equipment
- Extra batteries
- Battery charger
- Memory cards
- Camera bag
- Zip lock bags (to protect equipment from dust) but note plastic bags are banned in Kenya so use a cloth alternative!
- Beanbag (to provide stability for your camera)
- A notebook to record your day’s adventures while it’s still fresh!
Before your Safari Holiday – Practice!
Particularly if you have a new camera, or if you don’t use your camera frequently, try to spend some time before you depart for your African safari holiday familiarising yourself with the camera, and taking some practice shots. Any subject matter will do, such as birds in your garden, your pets, or anything else that moves.
Also, have you read the manual? They are not great reads admittedly, but when you get on a safari drive, it helps to quickly know how to operate the camera. You will not have time to read the manual as animal behaviour unfolds in front of you – the action will be over by the time you have found the right page and read it!
Ideally you want to be able to make key adjustments to your camera (eg. Exposure settings) without lifting your eye from the viewfinder.
Be patient!
When it comes to observing wildlife on a safari trip, no two days are the same. Some days you will see very little while others there will appear to be animals everywhere. Some people rush around trying to ‘tick off’ as many different animals as possible, taking a quick picture or two before asking to move on. But unfortunately animals will not pose for you on demand, and professional photographers will spend many hours with a subject waiting to get a great shot. On a typical safari this isn’t really possible but you will often find that if you show a little patience and stay with a subject a little longer, something more interesting might happen that you can get a shot of. This advice is equally true for general game viewing not just photography. Try and be patient, spend some time with and get to know your subject, and often you will be rewarded. If nothing else it makes for a more relaxing safari!
Light
The most atmospheric and inspiring nature photography tends to benefit from great light. This is often referred to as the ‘golden light’ that occurs in the early morning or late afternoon when the sun is lower in the sky. At this time your photos will benefit from a softer warmer ‘golden’ light. During the middle of the day the sun is overhead and tends to result in harsh shadows that rarely provide for flattering pictures. During the ‘golden hours’ animals also tend to be more active as it is cooler, increasing the chances of not only seeing wildlife but catching them doing something more interesting than sleeping in the shade! Now you know why we get you up so early on a morning!
Techniques
Composition – the “Rule of thirds”
A really important aspect of good wildlife photography is composition. This relates to the position of the subject(s) within the frame. The “rule of thirds” is a well known compositional technique that can make a big difference to the impact of your photos and require little if any technical skills.
If you think about your picture frame being broken down into thirds (both horizontally and vertically) so that you have 9 parts, the best wildlife photographers often deliberately place the subject at the points where the lines cross, or along the lines themselves. Most of the time your photos become more aesthetically pleasing to the human eye by applying the rule of thirds.
Don’t forget your environment
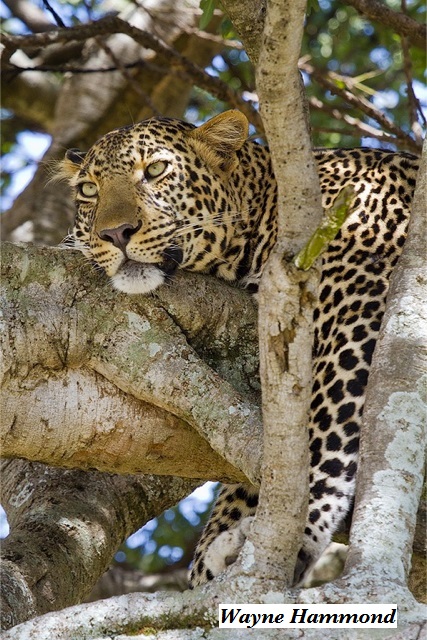
Often when you have long telephoto lens the temptation is to fill the frame with your subject at every opportunity. This can provide for great portrait photos and you will see some wonderful wildlife photographs that use this approach. But sometimes, it is good to pull back a little on your telephoto lens and try to take in some of your subject’s environment. The African bush has some wonderful landscapes and trying to incorporate some of this into your photographs will enhance your photo collection and give your friends and family a sense of what the African bush actually looks like. If you always fill the frame with your subject they will never know!
You can also be creative in the opposite sense, by getting really close up shots of a lion’s eye, or an elephant’s trunk, for example.
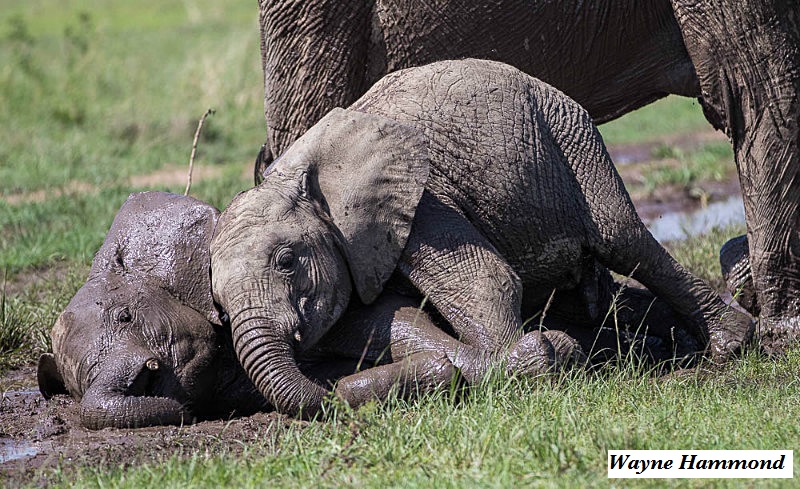
Try to capture some action.
In addition to capturing portraits of your favourite safari animals try and add some variety to your photo collection by capturing some action. Most African wildlife are social creatures and will spend some of their time playing, grooming each other or interacting in other ways. Capturing these moments will make your photographs more interesting as you will be capturing their behaviour. As explained above, while this often requires a bit of patience (particularly with sleepy lions!) the rewards can be well worth it.
Stay low!
One of the most underrated techniques for capturing great wildlife photography is to position yourself for a low angle of view. Many safari vehicles are fitted with pop up or removable roofs to allow people to stand up and see wildlife from a higher position. This can be advantageous, for example when an animal is in longer grass. But taking a picture of an animal that is close by to your vehicle and sat down, while you are stood shooting downwards is generally not the most flattering. You will get a much more impactful picture by photographing sat down to get a lower angle of view – by getting eye level to your subject.
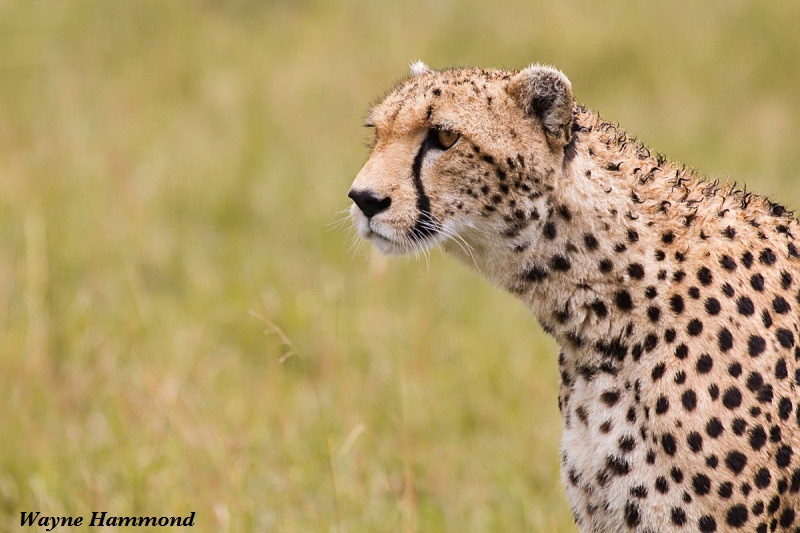
Portraiture and depth of field
If you’re trying to capture a close up view of a single subject focus on getting the eyes pin sharp, and try and get a diffused (blurred) background. This requires careful use of depth of field – a shallower depth of field (helped by using a lower ‘f’ stop) will help blur the back ground and make your subject stand out in the photo. The downside is that the shallower depth of field that helped blur the background will also narrow the area of sharpness often to just a few inches – hence be careful to focus on the eyes as they may be the only ‘pin sharp’ element of the picture.
On a related point, when looking at your subject through the viewfinder often we forget to look at distractions above, below and to the side of the subject. Odd looking twigs, other safari vehicles in the background and other ‘clutter’ can often weaken a picture but can often be avoided by moving very slightly the position from which you take the picture. Try and get as clean and uncluttered surrounding to your subject as possible so it stands out in the frame.
Shutter speed
To freeze the movement of a moving animal you will need to keep the shutter speed high, ideally around 1/1000 of a second or higher depending on the speed of movement and the actual subject. For example, trying to freeze a bird in flight will require much higher shutter speeds. An alternative approach is to use the panning technique where you try to follow the movement of the animal so it stays sharp in the picture but the background is blurred. For this try somewhere between 1/8 to 1/30 second shutter speed.
And finally – try to take pictures in both portrait and horizontal orientation. And to give the appearance of the animal moving, don’t centre your shots. Leave space left, right, above or below for the animal to move into.
Our Recommended Safari Travel Essentials:
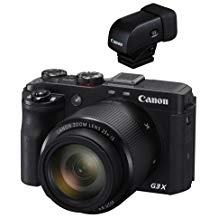
Point-and-Shoot Digital Camera Deals